How to Hold a Pool Cue
August 05, 2024
Playing billiards is not only about aiming and shooting. It’s a game that requires precision, control, and technique. One of the fundamental skills every player must master is holding a pool cue properly. How you hold the cue impacts your accuracy, power, and overall performance on the table. Even well-planned shots can go astray without the correct grip and stance.
This guide will take you through the steps to ensure you're holding your pool cue like a pro, setting you up for a successful game the next time you go against your friends in a barcade like Limitless Barcade.
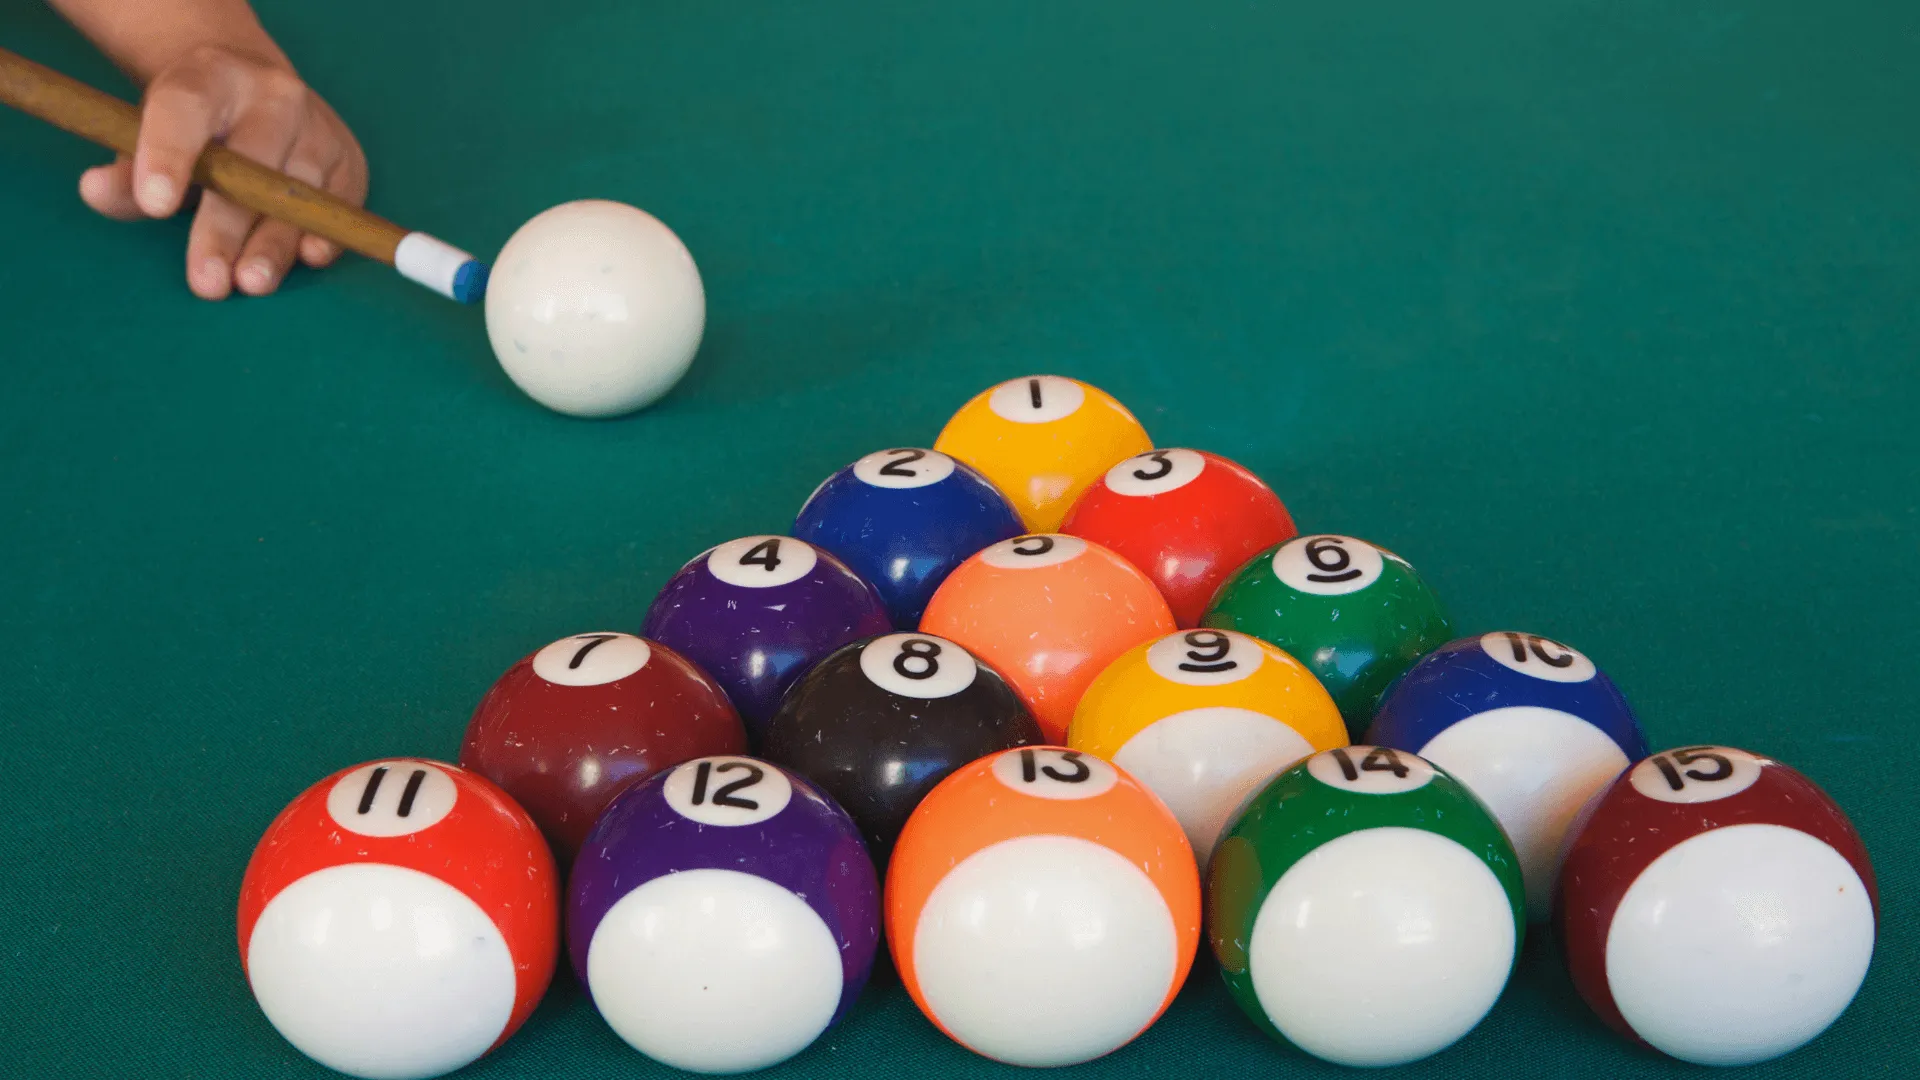
1. Choose the Right Cue
Before holding the cue, make sure you have the right one. Cues come in different weights and lengths. A standard 57 in. to 58 in. long cue weighing around 18 oz. to 21 oz. is ideal for beginners. Your choice should feel comfortable in your hands, neither too heavy nor too light.
2. Grip the Cue Correctly
Hold the cue about 4-6 inches from the bottom end with your dominant hand. Ideally, your back hand should form a 90-degree angle with your cue. Your grip should be firm but relaxed, similar to a handshake. Avoid holding the cue too tightly, as this can restrict your movement and reduce the precision of your shots.
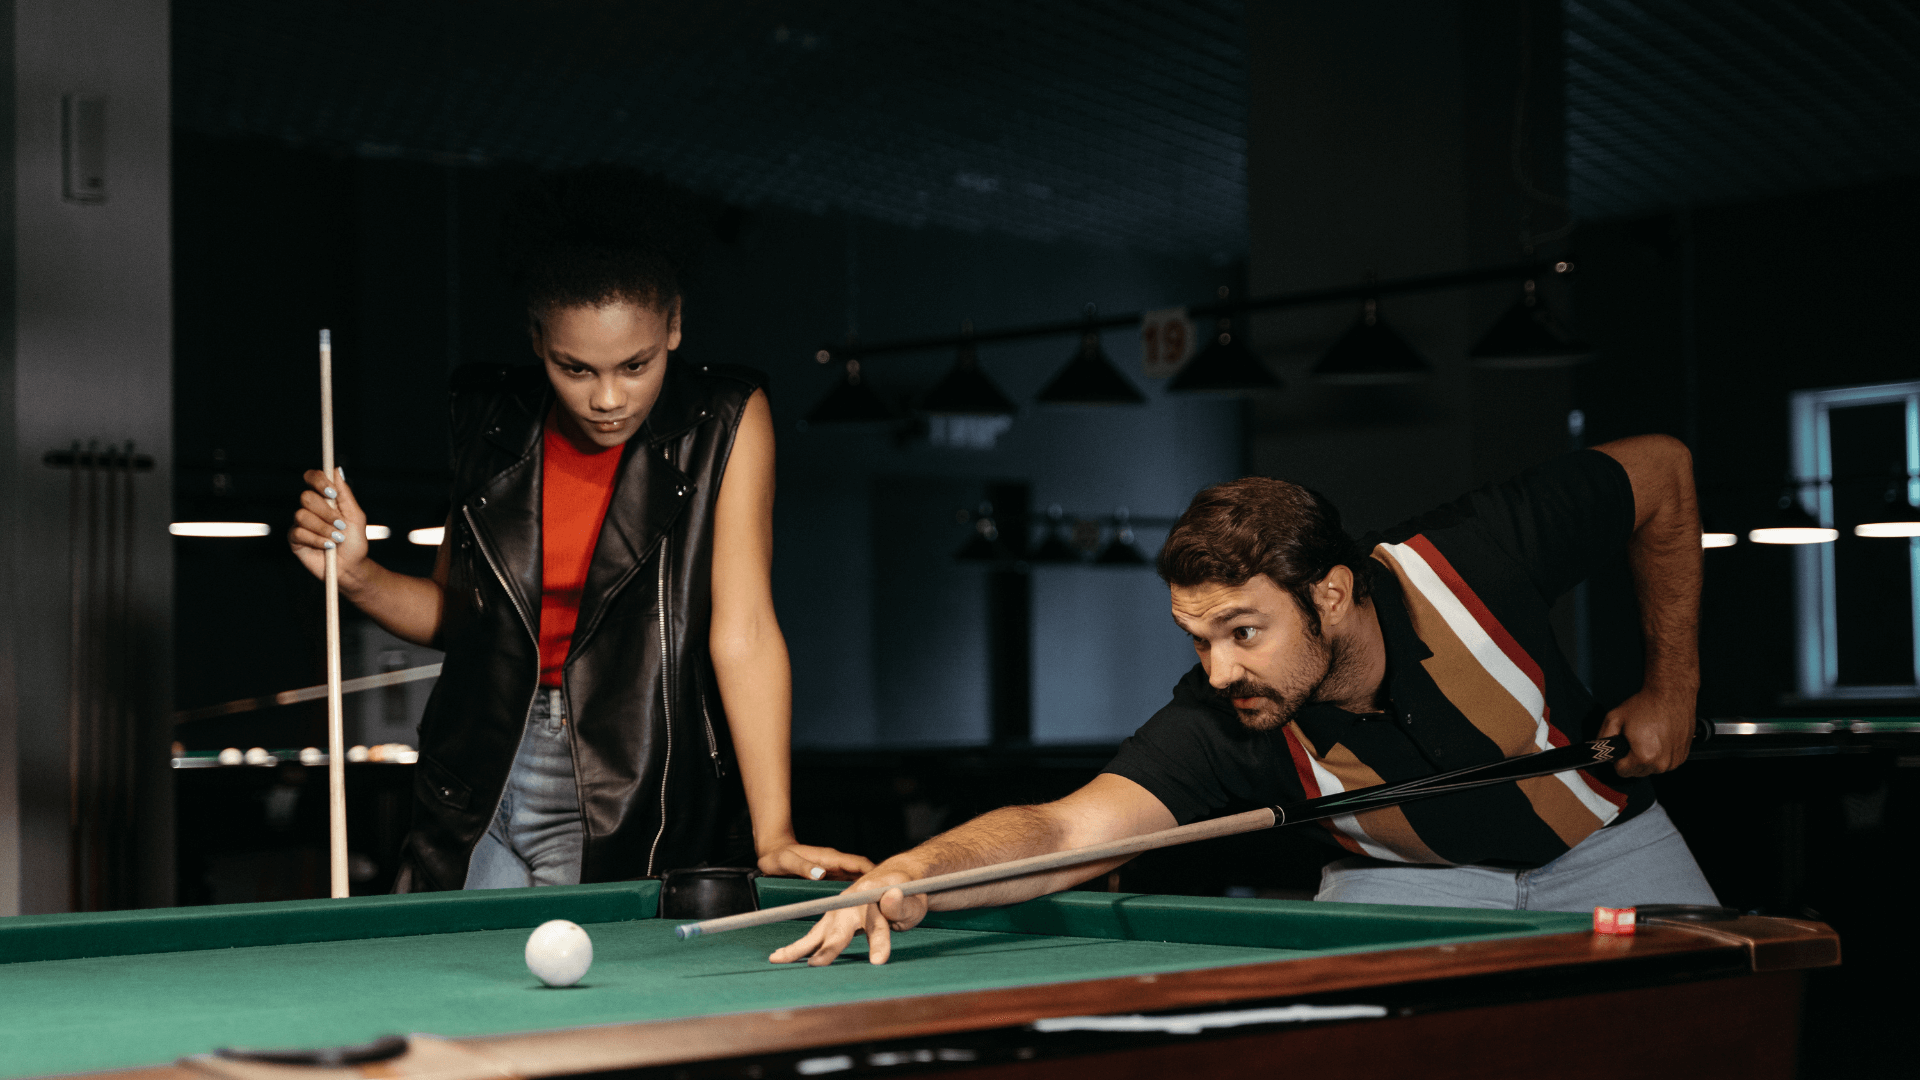
3. Establish Your Stance
Stand shoulder-width apart, placing your dominant foot slightly behind the other. If you're right-handed, your right foot should be set back, and vice versa. Your weight should be distributed evenly with a slight knee bend. This stance provides stability and allows for smooth movement.
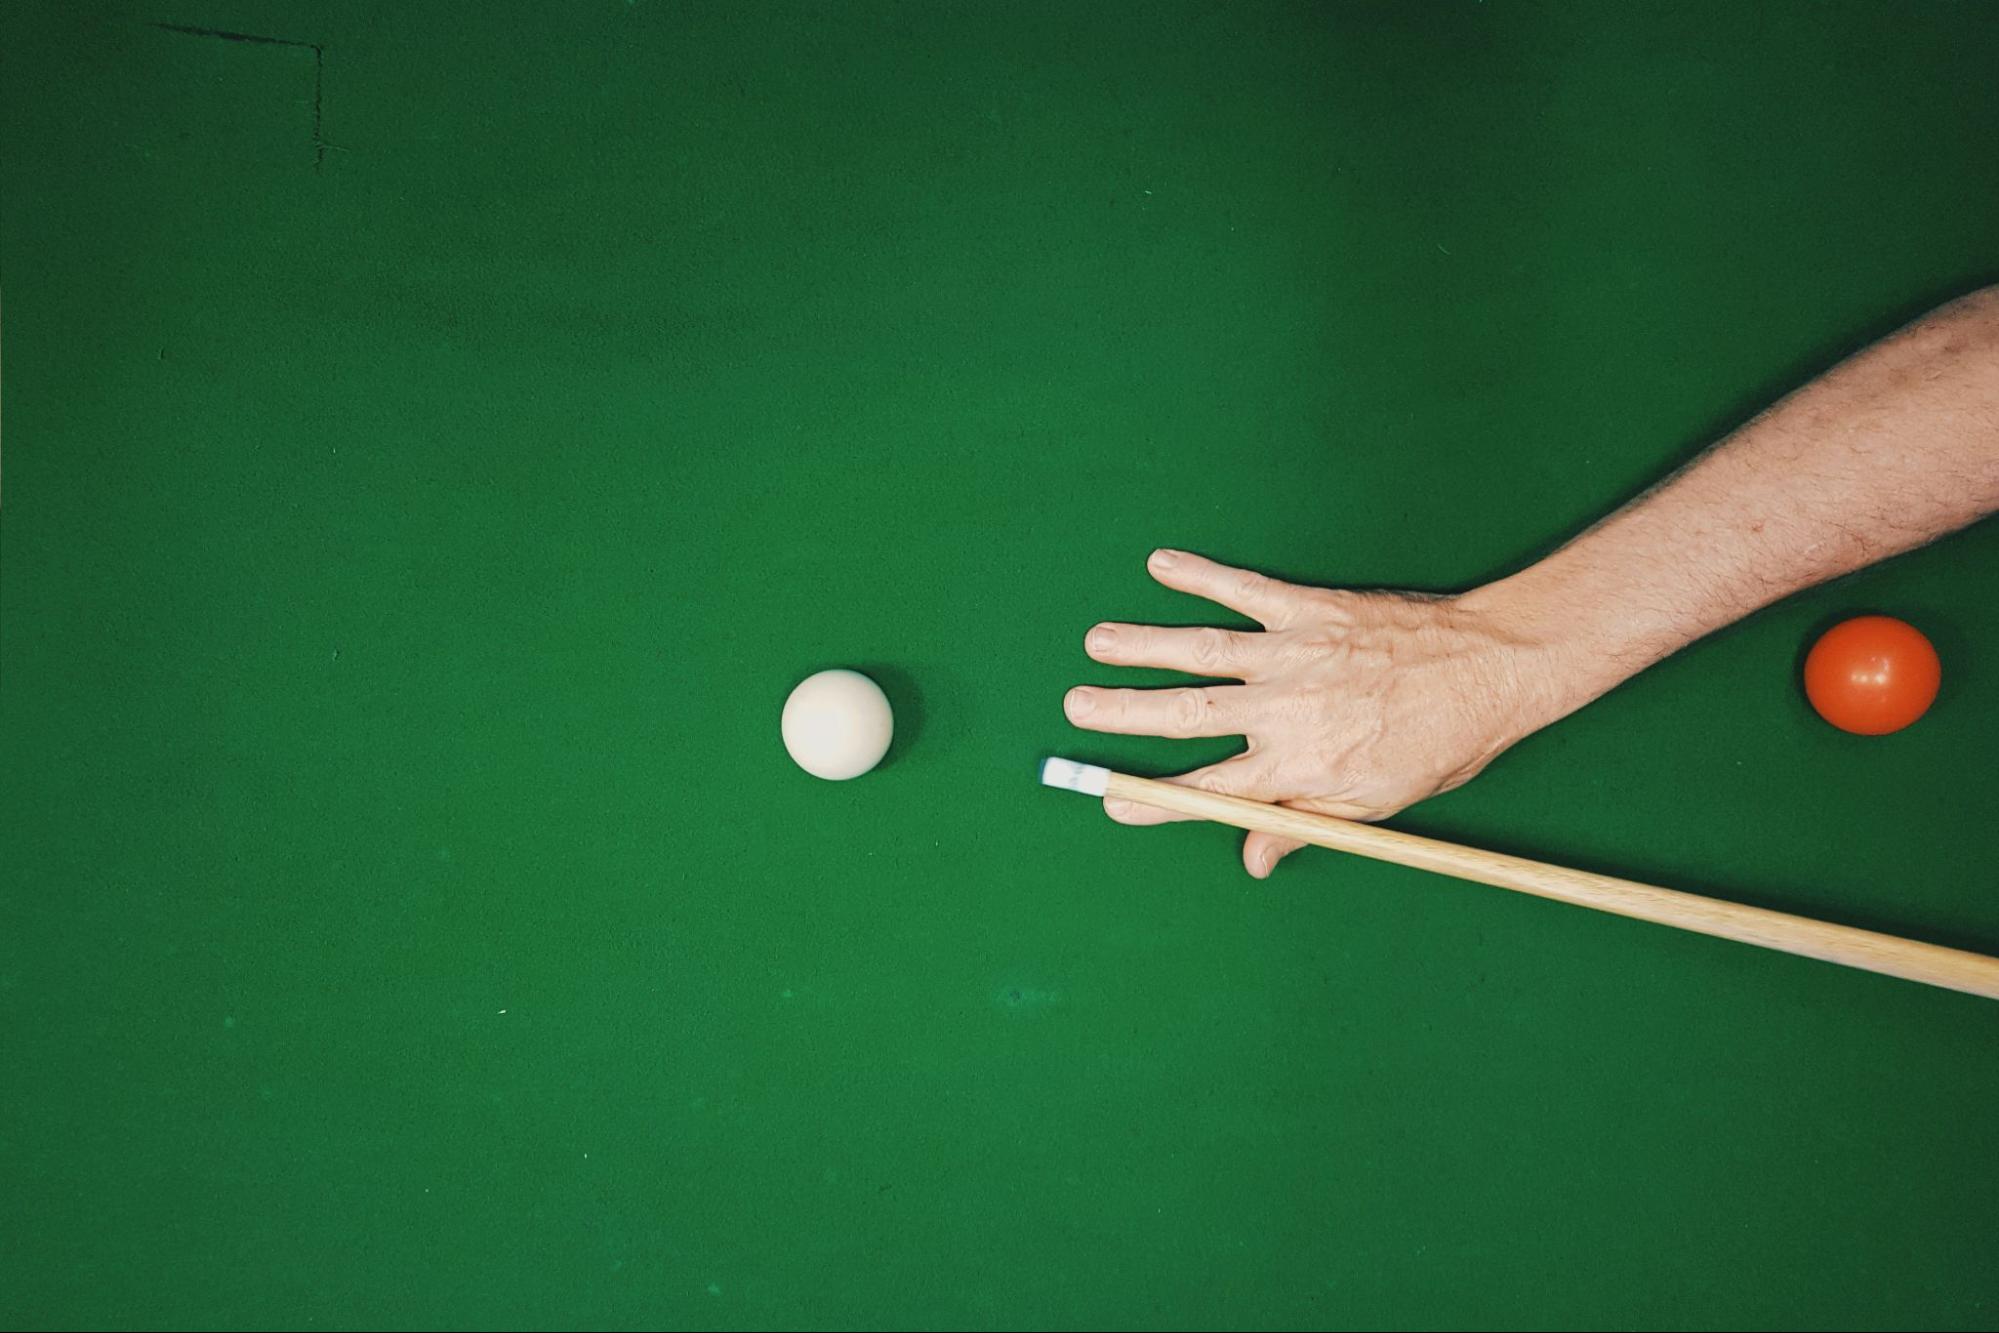
4. Form the Bridge
The bridge is your support for the cue as you take your shot. There are various bridges, but the most common is the open bridge. Lift your hand slightly so that your palm hovers just above the table. Next, bend your thumb and index finger to form a V-shape. This V-shape will cradle the cue, providing a stable platform for your shot. Adjust the height of your bridge hand to find a comfortable position, ensuring the cue rests securely within the V. The bridge not only supports the cue but also minimizes unintended movements, allowing for precise aiming and confidently executed shots.
Other Bridges to Learn
Closed Bridge
Closed bridge is an advanced technique that works well for shots that are easily identified (accented).
How to Do It:
- Place your non-dominant hand flat on the table.
- Close your thumb and fingers around the cue.
- Rest the cue within the closed loop for control.
Rail Bridge - Open or Closed
Use a closed rail bridge if a standard open bridge, where your fingers form an arch and rest on the table, is impractical because of the cue ball's position. A closed rail bridge is more secure because the thumb will guide the whole movement while the middle and index fingers hold the cue securely. On the other hand, an open bridge allows you to level the cue with the help of your index fingers.

How to Do It:
Closed Rail Bridge
- Place your non-dominant on the table, with your palm resting on the table and your fingers extended.
- Bring your thumb and index finger together to form a closed loop.
Open Rail Bridge
- Place your non-dominant hand flat on the table with your palm facing down.
- Spread your fingers apart
- Bring your thumb and index finger together to form a natural arch between them.
- Place the cue stick on the fleshy part of your thumb and index finger. Make sure that the cue is not rocking side to side.
- Adjust the height of your bridge hand to align the cue stick with the cue ball.
Elevated Bridge
Elevated bridge is useful for shots where another ball is blocking the cue ball.
How to Do It
- Lift your bridge hand higher than usual.
- Maintain the V-shape or closed bridge.
Mechanical Bridge
Mechanical bridge is ideal for shots with limited hand reach or the cue ball is far away.
How to Do It:
- Use a mechanical device with a cue-holding notch.
- Position it on the table to support the cue.
6. Aim the Cue and Align with the Ball
Position yourself so your eyes are directly over the cue, aligning your shot with your target. Your head should be low enough to see the shot clearly but not so low that it's uncomfortable. This alignment is crucial for accuracy. With your cue properly positioned, practice your stroke by gently moving the cue back and forth. The motion should be smooth and controlled, with your arm moving in a pendulum-like fashion. This practice helps develop muscle memory and consistency.
7. Take the Shot
Ensure your grip and bridge are steady when ready to take your shot. Pull the cue back slowly, then push it forward straight, striking the cue ball with a smooth follow-through. Your grip should remain relaxed throughout the shot to maintain control.
Final Thoughts
Mastering how to hold a pool cue is essential for any aspiring billiards player. It requires practice, patience, and attention to detail. Following these steps and being mindful of common mistakes will build a strong foundation for your game. Remember, every great player starts with the basics, so take time to perfect your hold and watch your skills grow with every game. Happy playing!